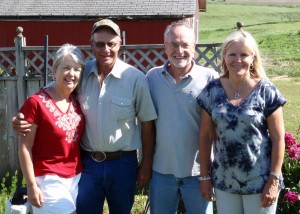
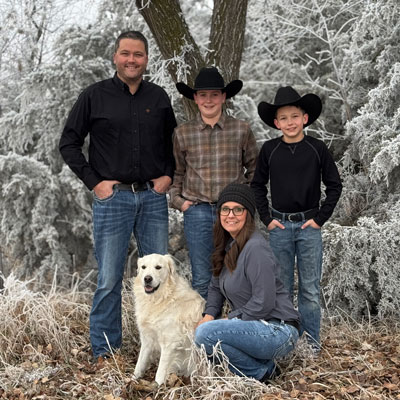
It was a busy and enjoyable Memorial Day weekend. We went down to Rob & Diana’s Friday night and came back Monday afternoon. Here’s a few of the pictures from the holiday weekend.


Growing Memories
While at Dad’s this last weekend I began the process of making my own longbow. Dad (having made one of his own recently) served as my faithful instructor. To begin with, we located a relatively straight piece of hedge (osage orange), and proceeded to saw it down and drag it out. Anyone who has seen hedge before knows that finding a straight piece without many knots could very well be the most difficult part of this process.
Below is the rough product. A roughly 7′ long, 6″ diameter piece of hedge. I know what you’re thinking…what a waste of a perfectly good post…let’s hope that isn’t the case.
We looked for the most optimal way to split the piece (hoping to yield around 3-4 usable bow staves). The general idea is to look for wider growth rings that are relatively flat (flatter rings will result in flatter limbs on the finish product). In this case the upper-left piece seemed to have the most potential, while the lower-right one having the least. This part is more of a rough guess, as the piece could end up splitting in an entirely different way than what you planned.
To start the split we drove a hatchet into one of our marked lines until we had enough gap to fit a wedge in. Once you’ve got a wedge in you just keep moving your way back until the piece splits to the end.
This piece didn’t split exactly as planned, but we ended up with three good staves. The next step was to seal the ends with some varnish or glue to help keep things intact during the drying process (as the stave dries it will get checks in various places and the varnish/glue will keep the end from splitting out).
Here is my bow stave ready to dry. We did clamp the ends and middle to try and encourage a natural recurve as it dries. After about 6-7 months it’ll be ready to start taking down to shape with a draw knife. Should be interesting!
We made a trip to the eastern part of the state this past weekend and saw quite a few people en route. We stopped and saw the Jacobsens and had lunch at Isles (nothing better than a Leaning Tower!) Then we saw Bonita (a previous colleauge at Northeast High), then we stopped and saw Lavingtons for a bit, all on our way to Dad’s house. While there Lee got a chance to meet Dad’s cat, Buster. It was a long weekend, but it was really nice to catch up with everyone.
